Cars repeatedly park on the grass verge opposite our driveway, blocking access. Commercial bollards proved ineffective, so I fabricated a pair of reinforced, ground-anchored concrete traffic cones for around £12 each.
Background
Parking bollards are easily moved out of the way, and, on occasion, driven over by determined car owners. The introduction of a day’s minimum charge rate in the nearby car park has turned a moderate problem into a severe problem at peak times. This tends to be at public holidays, school holidays, and when the sun first appears in Spring.
Finished Result
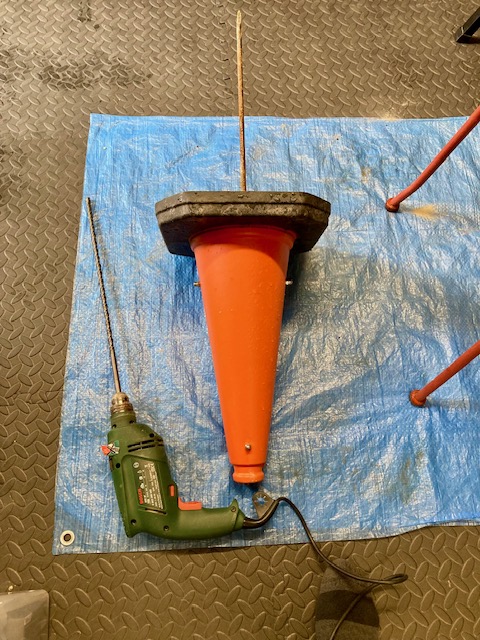
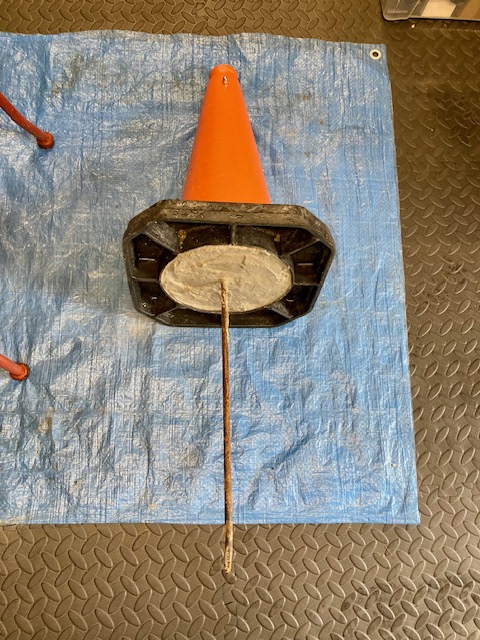
- Cost: ~£12 per cone
- Build time: ~2 hours
- Weight: approximately 8 kg
- Ground fixing: steel spike plus concrete backfill
- Cone height above ground 460mm; Spike length below ground 390mm
Bollards!
The following purchases were made. All tools and the cement mix are leftovers from previous projects.
| # | Description | Quantity | Cost | Links |
| 1 | Traffic cone, the 46cm version is preferred since it is not too conspicuous! | 2 | £4.57 each | Melba Swintex | MELBA 46 Melba 46 Start Safety UK |
| 2 | Metal stakes for the Garden | 2 | £1.64 each | 10 Pack : Amazon.co.uk: DIY & Tools |
| 3 | Masonry Drill Bit | 1 | £2.58 | SDS Plus Masonry Drill Bit 10.0 x 460mm | Toolstation |
| 4 | 1m Threaded Bar M6 | 1 | £2.29 | Threaded Bar M6 x 1m | Toolstation |
| 5 | Hexagon Steel Nut M6 | 4 | £1.09 pack | Hexagon Steel Nut M6 | Toolstation |
| 6 | Stainless Steel Dome Nut M6 | 8 | £1.99 pack | Stainless Steel Dome Nut M6 | Toolstation |
| 7 | Concrete Mix | As required | Leftover | Concrete | Sharp sand | 10mm Pea Shingle |
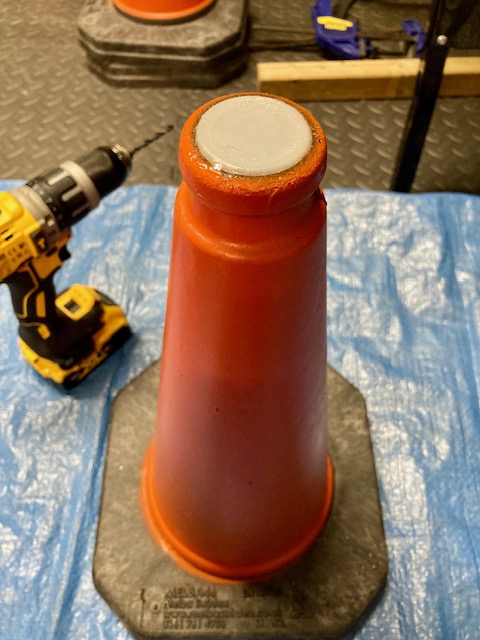
Sealing The Top And Drilling Holes
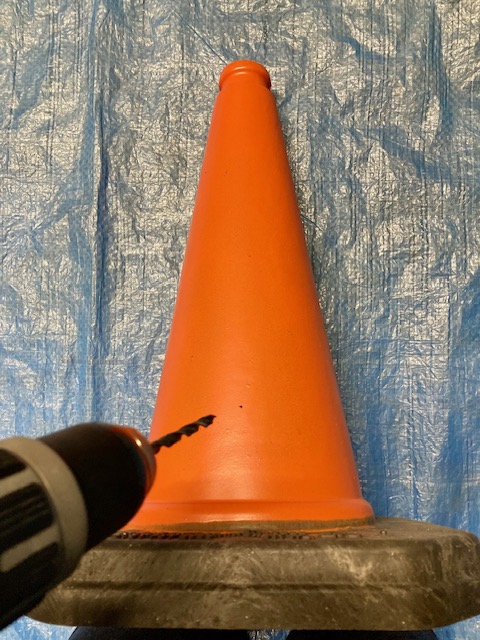
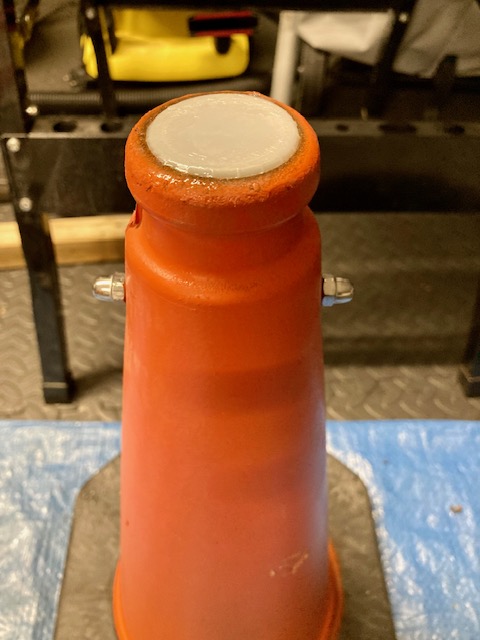
A recycled milk carton screw cap provided the perfect bung. 6mm holes were drilled at 6cm from the top and bottom at opposite sides.
Threaded Bar Cut to Length
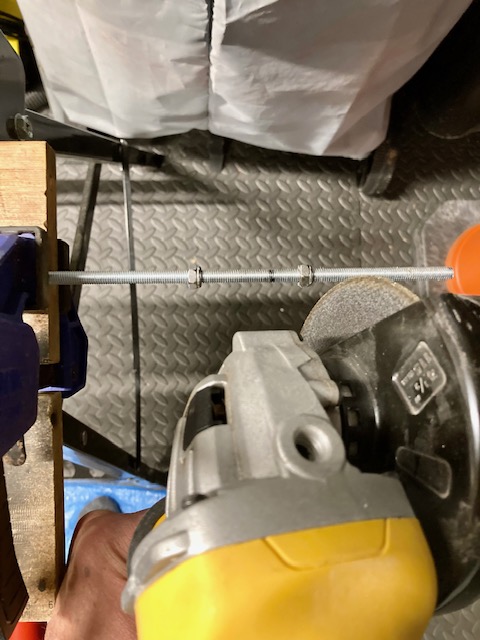
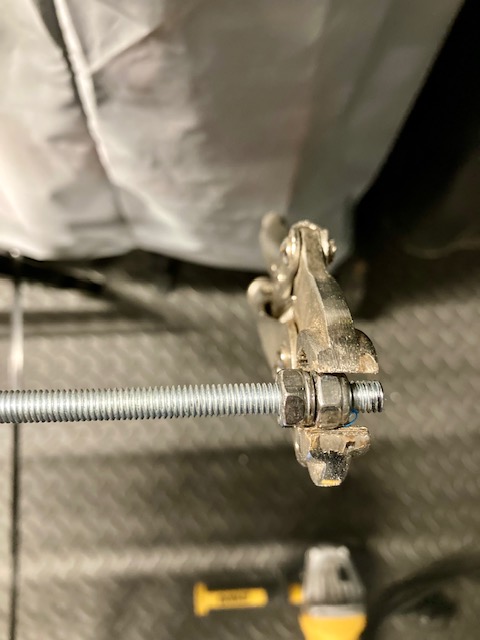
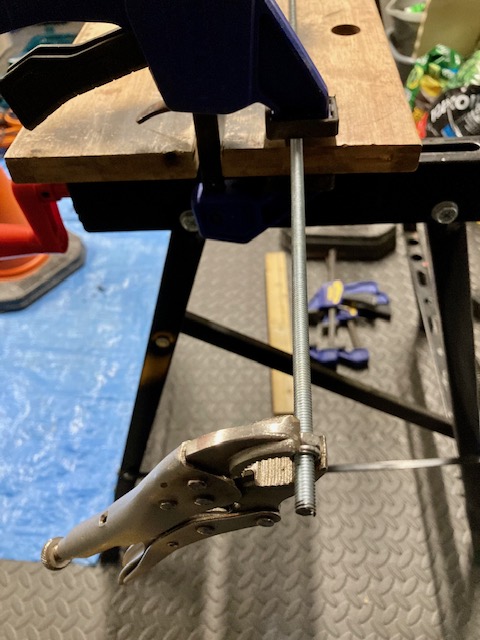
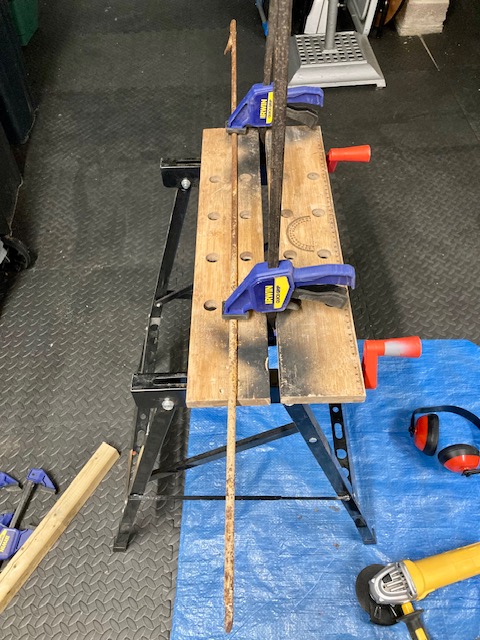
The threaded bar was cut to length using an angle grinder. The M6 steel nuts are screwed onto the threaded bar. It’s important to screw the nuts either side of where you plan to cut the threaded bar. This ensures the thread is reformed correctly by unscrewing over the newly cut end. It helps to file down each edge to smooth any ragged ends / swarf. I use the mole grips to turn the nuts over the thread.
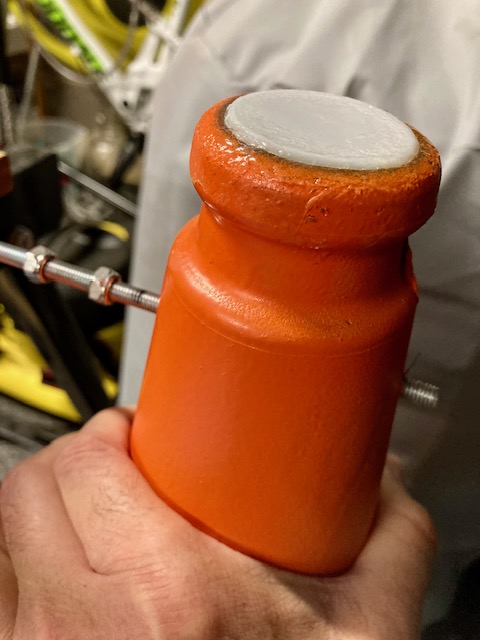
Dome Nut
The M6 dome nut is screwed on with thread lock to prevent loosening. The dome nut provides a safer, non-sharp finish.
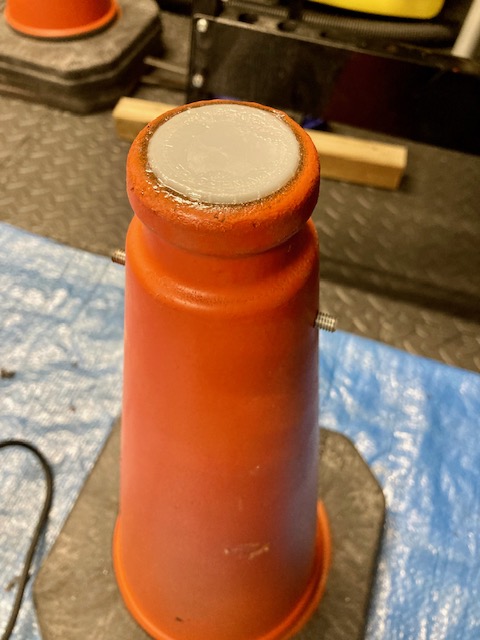
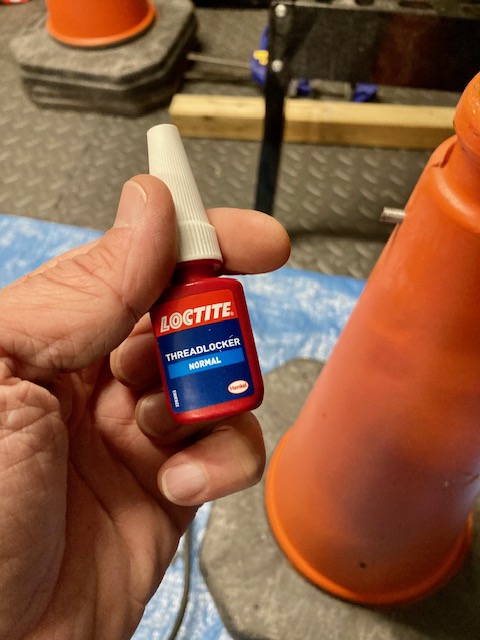
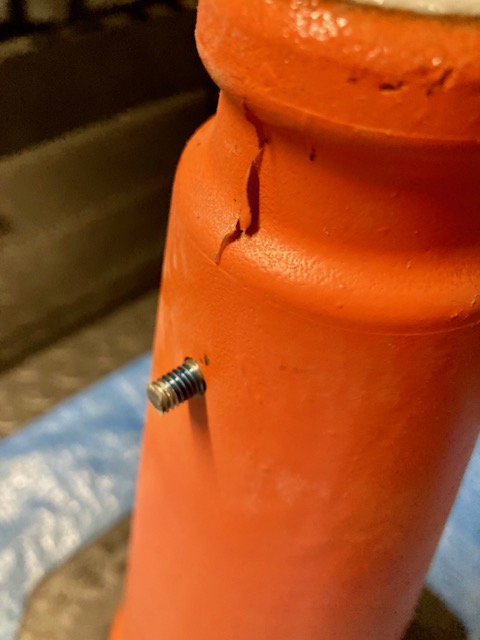
Preparing the Spike
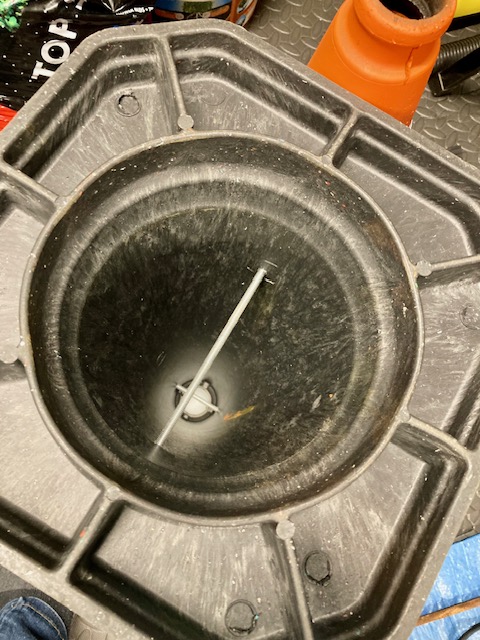
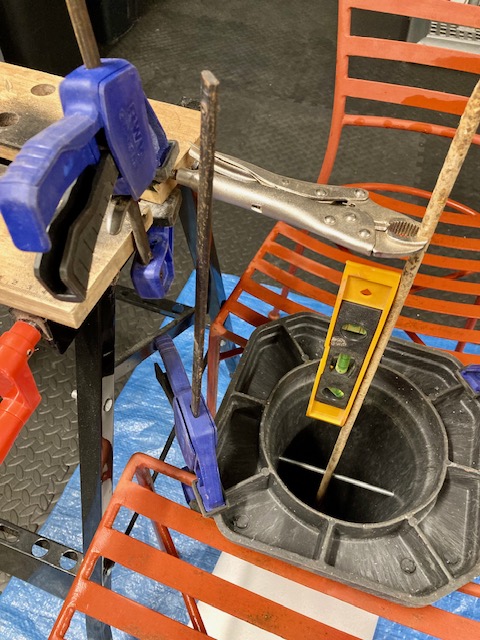
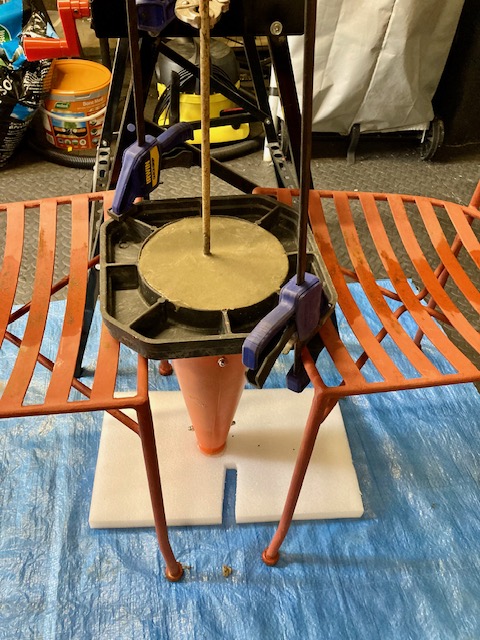
Both threaded bars are inserted and the internal spike is cut to length and tied into the threaded bar. A spirit level is used to keep everything at right angles.
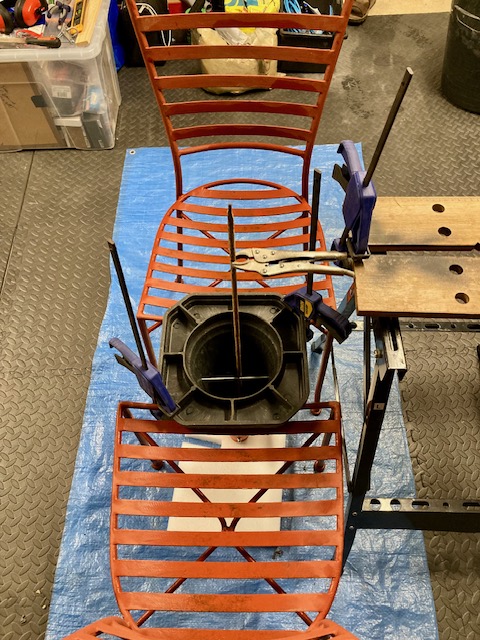
The Cement Mix
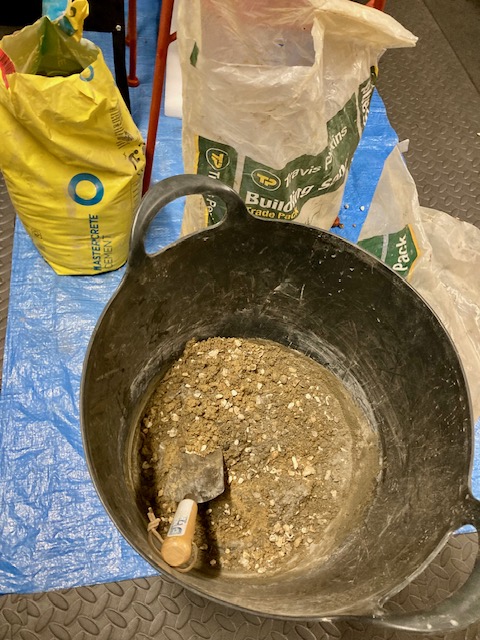
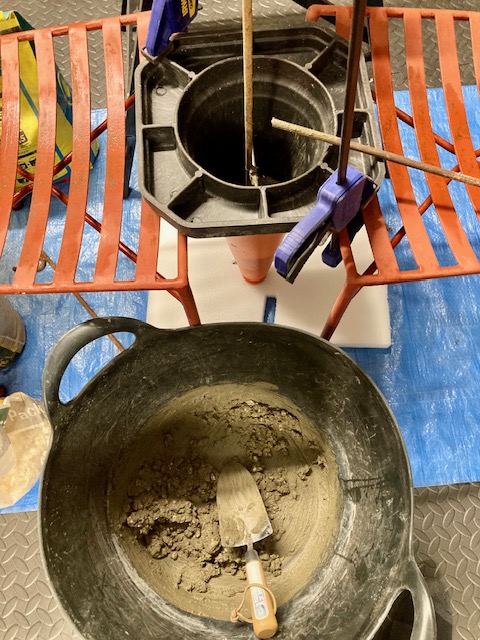
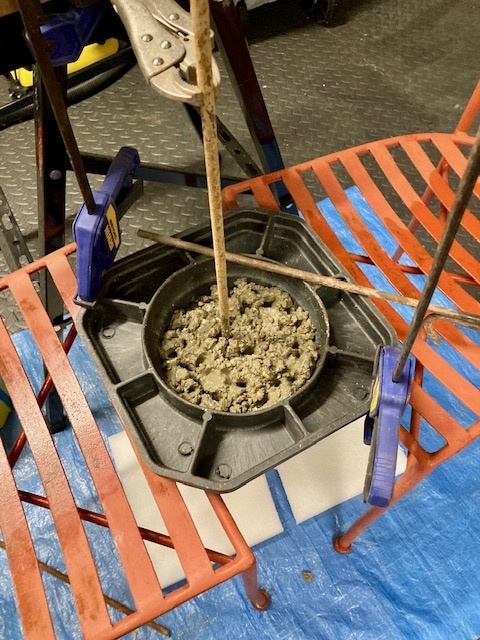
The traffic cone is now ready for the cement mix. The recommended mixture is 1 part cement: 2 parts sharp sand: 3 parts 10mm pea shingle. Just enough water is added but limited to ensure the mix sets strongly.
Lessons Learnt / Next Steps
- Finding a bung (milk bottle top) to fit was lucky.
- Safer use of the angle grinder. The spark fender can be pivoted around!
- Once the concrete has been allowed to cure for two weeks, they will be installed.