
This project converts an existing hot water immersion heater from a simple on / off manual switch to a configurable system with remote access. The goal was simple:
- Keep the design safe
- Keep it simple
- Keep costs low
CAUTION: This blog documents the steps taken by a curious DIYer and may not be suitable for your use case. Electrical installations can be dangerous. Seek help from a professional electrician or plumber if you are at all unsure.
The Setup
The system consists of:
- A Linky smart meter and consumer unit
- A ballon d’eau chaude (immersion heater)


Options Considered
Option A — Smart switch at the heater
Install a smart switch directly inside the immersion heater.
Option B — Smart switch in the consumer unit
Control the heater circuit upstream using existing switching hardware.
Option C — Hire a professional
Always sensible—but less appealing for a curious DIYer (and not always easy in France).
Chosen Approach
Option B was selected.
- Option A requires a high-current smart switch (~16A for a 3000W heater) and opening up an old immersion heater—less desirable from a safety perspective.
- Option B uses the existing relay (contactor), switching only the low-current control side, making it significantly safer.
Prerequisites
Before starting the installation, a couple of practical checks are performed.
WiFi Signal Strength
Since the smart switch relies on WiFi for control and scheduling, it’s important to ensure there is a reliable signal at the consumer unit.
- Check signal strength using my phone while standing next to the consumer unit
- A stable connection (at least 2–3 bars) is recommended
- If the signal was weak, a WiFi extender or repositioning of the router may work.
- An alternative approach is to install a Shelly smart switch that supports Zigbee or Matter.
Contacteur Jour/Nuit
In France, immersion heaters are often controlled by a Contacteur Jour/Nuit, designed to run during off-peak hours. This device is a type of electrical contactor.
It has 3 modes:
- I → Always On
- Auto → Controlled (normally by off-peak tariff)
- 0 → Always Off
In this setup, we use a standard EDF tariff, so the Auto function is unused. This makes it perfect for repurposing with a smart switch via terminals A1 and A2.
Some definitions:
- Contactor → a specific type of relay designed for high-power loads (such as this immersion heater)
- Relay → a general term for an electrically operated switch
- Contacteur Jour/Nuit → the French term for a contactor with a control circuit (often tied to off-peak tariffs)


Circuit Breaker
The heater circuit is protected by a dedicated breaker.
Conveniently:
- It provides spare terminals for live and neutral
- These are used to power the smart switch
Components
The following components were used to complete the installation. All are readily available and relatively inexpensive.
Shelly 1 Gen 3 – Smart Switch
A compact WiFi-enabled relay used to control the contactor. It supports dry contact operation, meaning it can switch a circuit without supplying power itself—ideal for safely controlling the low-current coil of the relay.
- Cost: £11.17
- 👉 https://www.shelly.com/products/shelly-1-gen3
DIN Rail Holder for Shelly
A 3D-printed DIN rail mount used to securely install the Shelly inside the consumer unit, keeping the wiring tidy and compliant with enclosure standards.
- Cost: £12.46
- 👉 https://amzn.eu/d/02aAzuu3
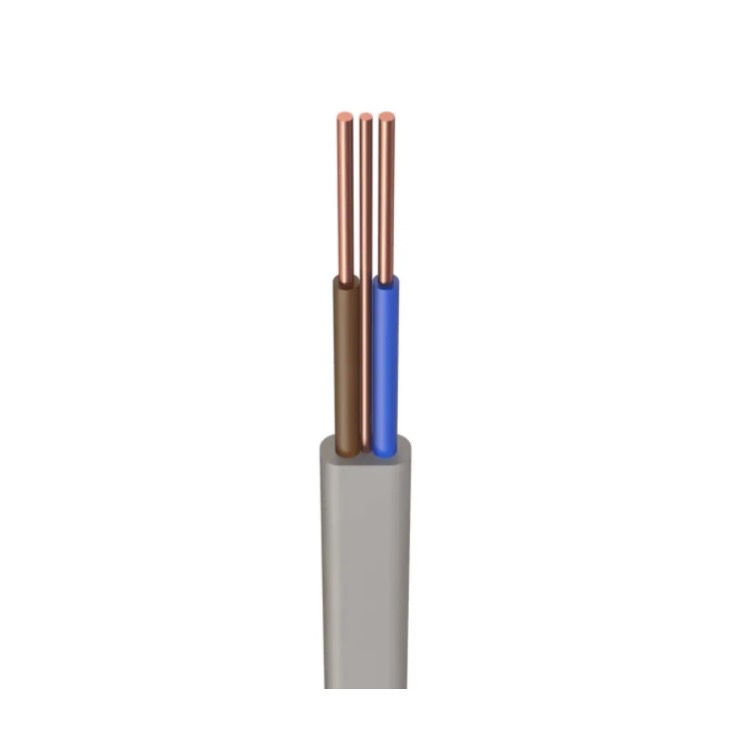
2.5mm² Solid Core Electrical Cable
Standard domestic wiring cable, chosen to match the existing wiring within the consumer unit. Using consistent cable sizing helps maintain clarity and compliance.
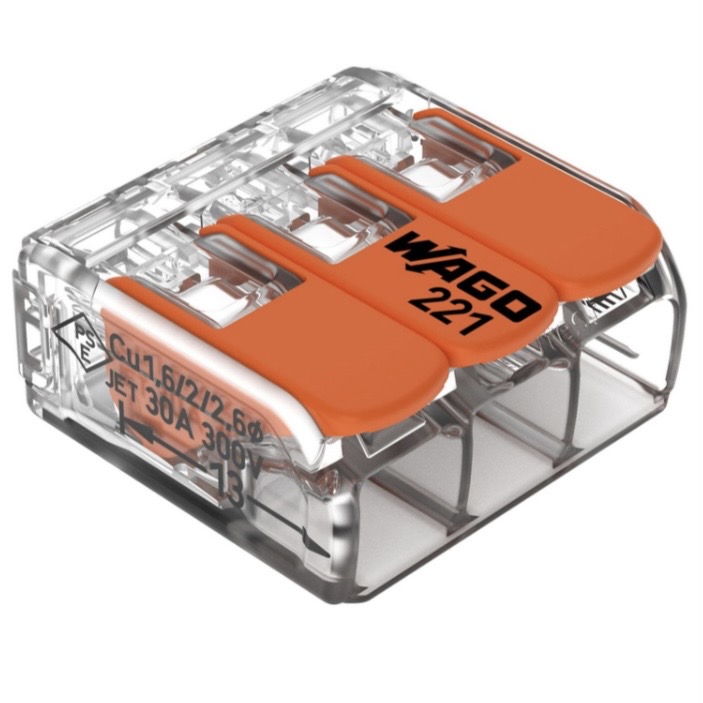
Wago 221 Connectors (x2)
Lever connectors used to safely join and distribute wires within the enclosure. These are reliable, reusable, and ideal for compact installations.
Total Cost
Approximate total: £35


Wiring
The Shelly is used to control the coil of the contactor, not the heater directly.
| # | Shelly | Contacteur | Circuit Breaker |
| 1 | Neutral | A2 | Neutral |
| 2 | Live (L) | — | Live |
| 3 | Input (I) | — | Linked to Live (L) |
| 4 | Output Live (O) | A1 | — |


Set Up & Testing
Power was restored carefully in stages:
- System powered with heater isolated
- Manual modes (0 and I) tested
- Auto mode tested with Shelly OFF
- Shelly control enabled and verified
Each step checked for:
- correct switching
- no overheating
- no breaker trips
Connecting Shelly to the App
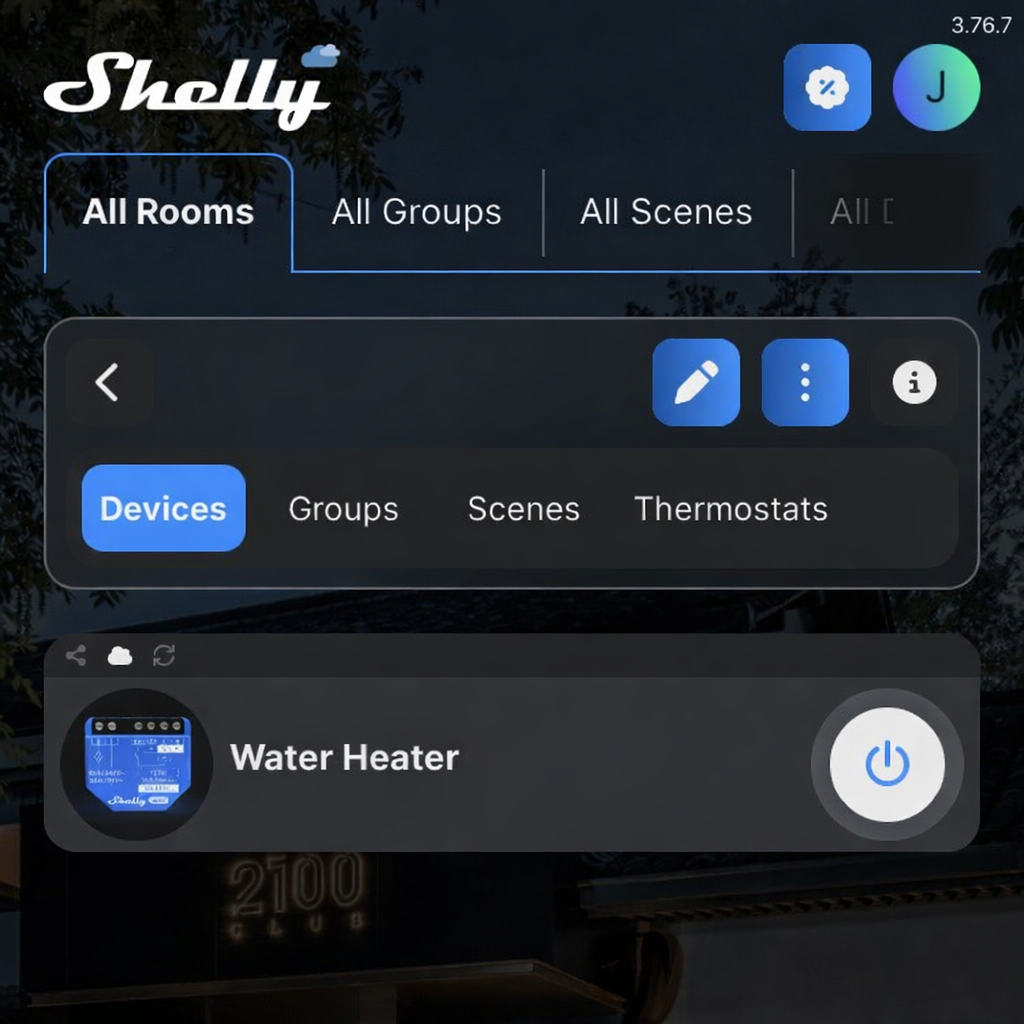
The Shelly device is configured via the mobile app over WiFi.
A step-by-step guide is available here:
👉 https://kb.shelly.cloud/knowledge-base/shelly-1-gen3
This covers:
- powering up the device
- connecting to its temporary WiFi network
- adding it to your home network
- configuring schedules and timers

Result
The immersion heater is now:
- Electrically safe (no high-current switching through the smart device)
- Remotely controllable
- Scheduled via app
Final Thoughts
This approach strikes a great balance between:
- Safety (using the contactor properly)
- Cost (~£35 & 1-hour to install)
- Flexibility (full smart control)
A simple upgrade that makes a big difference to everyday energy use.