
Paddleboarding in Swanage Bay


Jonty, Lynn & Miri's website

Jurassic Coast

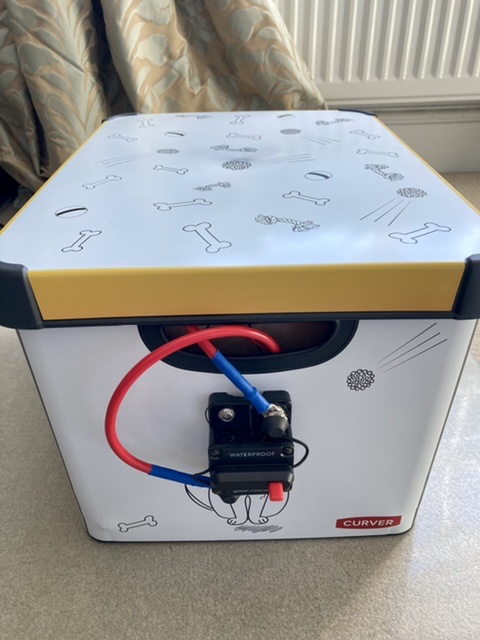
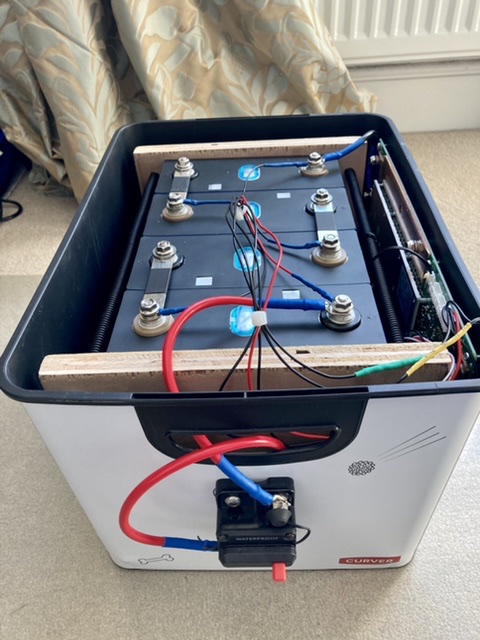
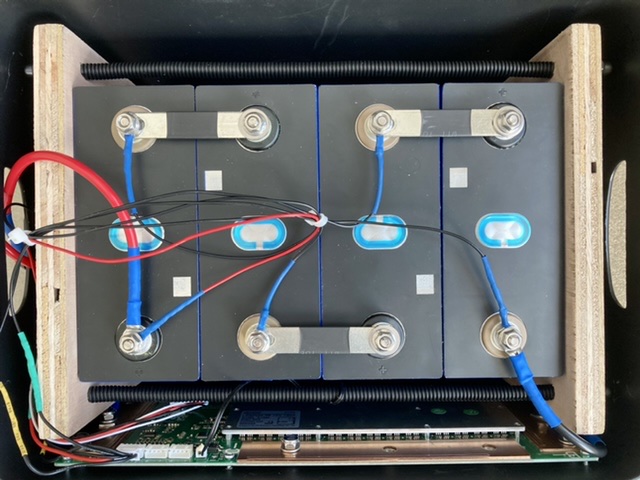
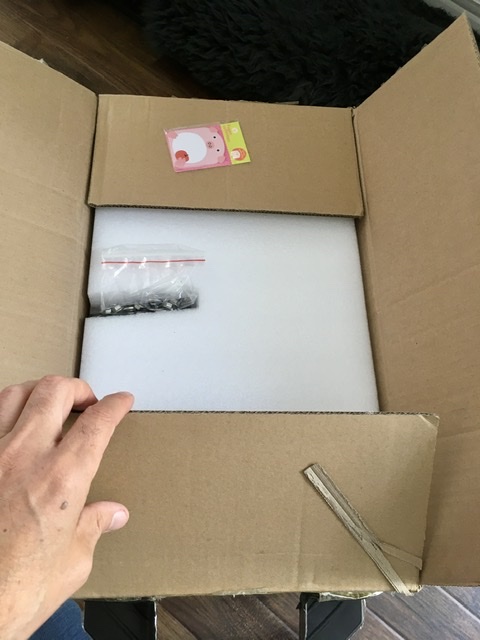
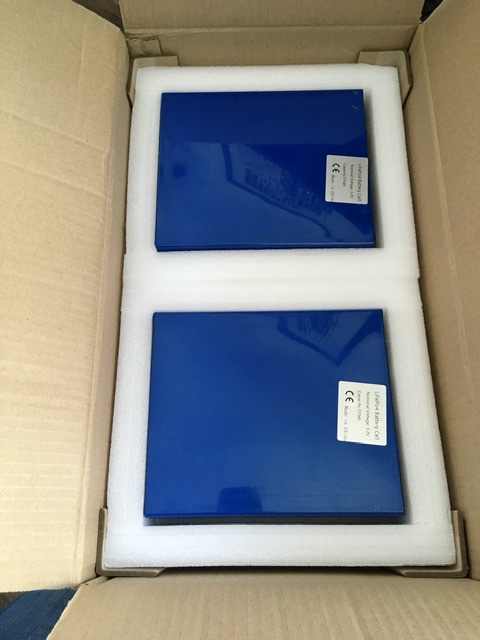
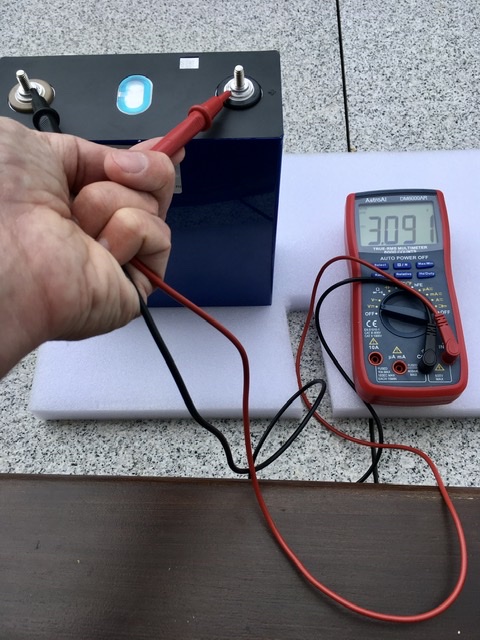
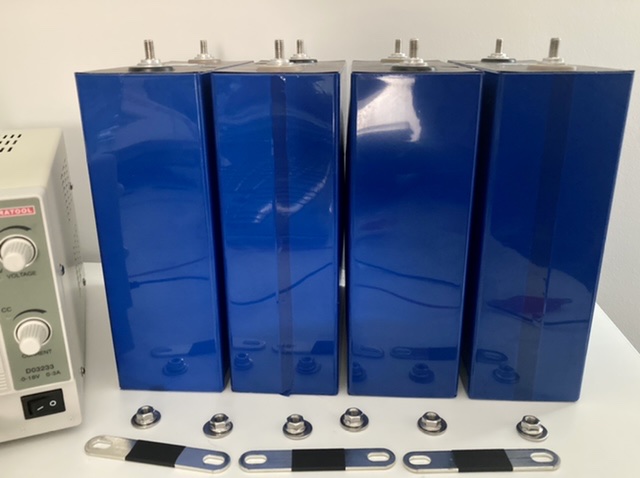
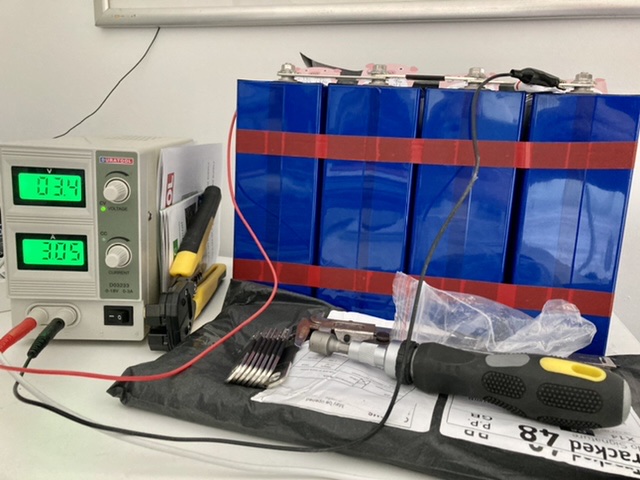
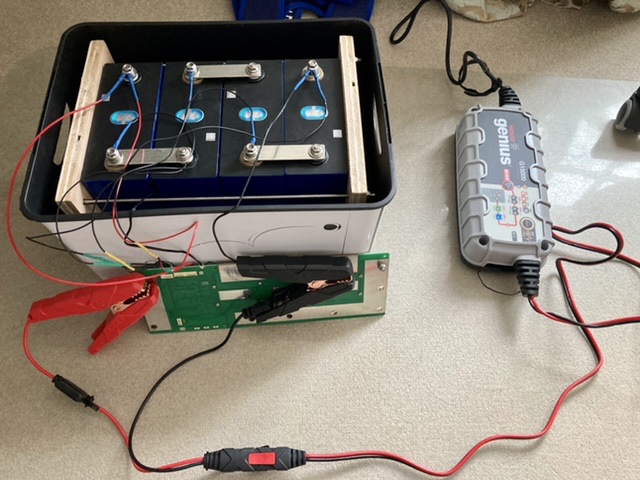
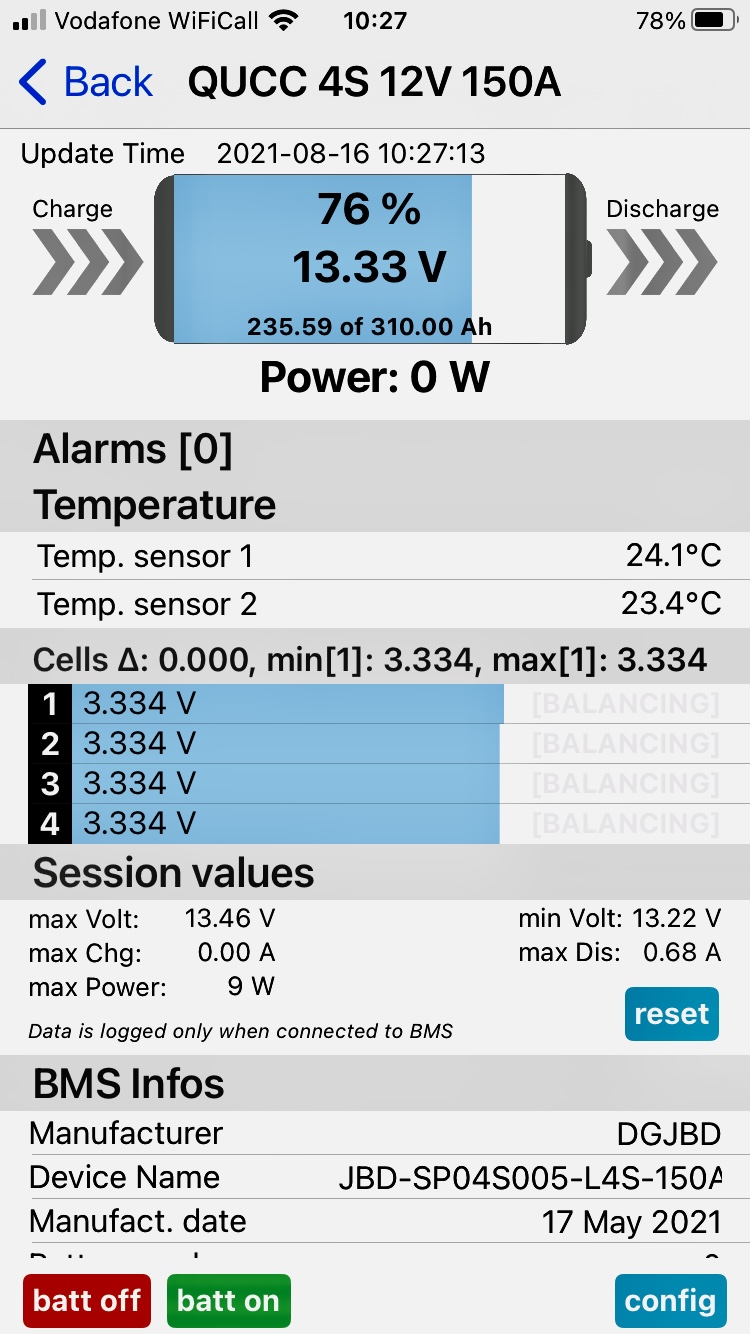
This is a project to build a 12V leisure battery. The cells are manufactured by CATL and are made from lithium iron phosphate (LiFePO4). The cells are supported by a 150A BMS (Battery Management System). A suitable box was found locally at The Range and just about houses the battery, BMS and various gubbins. The Dog Box – our new ’pet’ – is ready for camping in 2022!
| Quantity | Description | Source |
| 4 | 310Ah 3.2V rechargeable lithium ion cells produced by CATL | Ogreen Lifepo4 Cell Store, Aliexpress.com |
| 1 | QUCC 150A Smart BMS 4S LiFePO4 12V Battery Pack Protection Board | QUCC Official Store, Aliexpress.com |
| 10 | Copper busbar | Shop9113349052, Aliexpress.com |
| 5 | 4S 22AWG 100mm JST-XH Balancer Cable | Hoenvesta Official Store, Aliexpress.com |
| – | Single Core Thin Wall Cable – 10.0mm² 70A | 12voltplanet.co.uk |
| – | Single Core Thin Wall Cable – 1.5mm² 21A | 12voltplanet.co.uk |
| – | Copper Tube Terminals – 10mm² Cable Stud Hole Diameter: 8mm | 12voltplanet.co.uk |
| 1 | Thermoresistant shink wrap kit | He Cheng World, Aliexpress.com |
| 1 | 12V Fusebox | Car Runing Autoparts, Aliexpress.com |
| 1 | 50A DC Circuit Breaker | G-products, Aliexpress.com |
| 1 | 200A DC Circuit Breaker | G-products, Aliexpress.com |
| 1 | 12V-60V 100A-300A Battery Isolator Switch | Dynoracing Official Store, Aliexpress.com |
| 1 | 312091 KATSU 58W Soldering Station Kit | Amazon.co.uk |
| 1 | AstroAI Digital Multimeter | Amazon.co.uk |
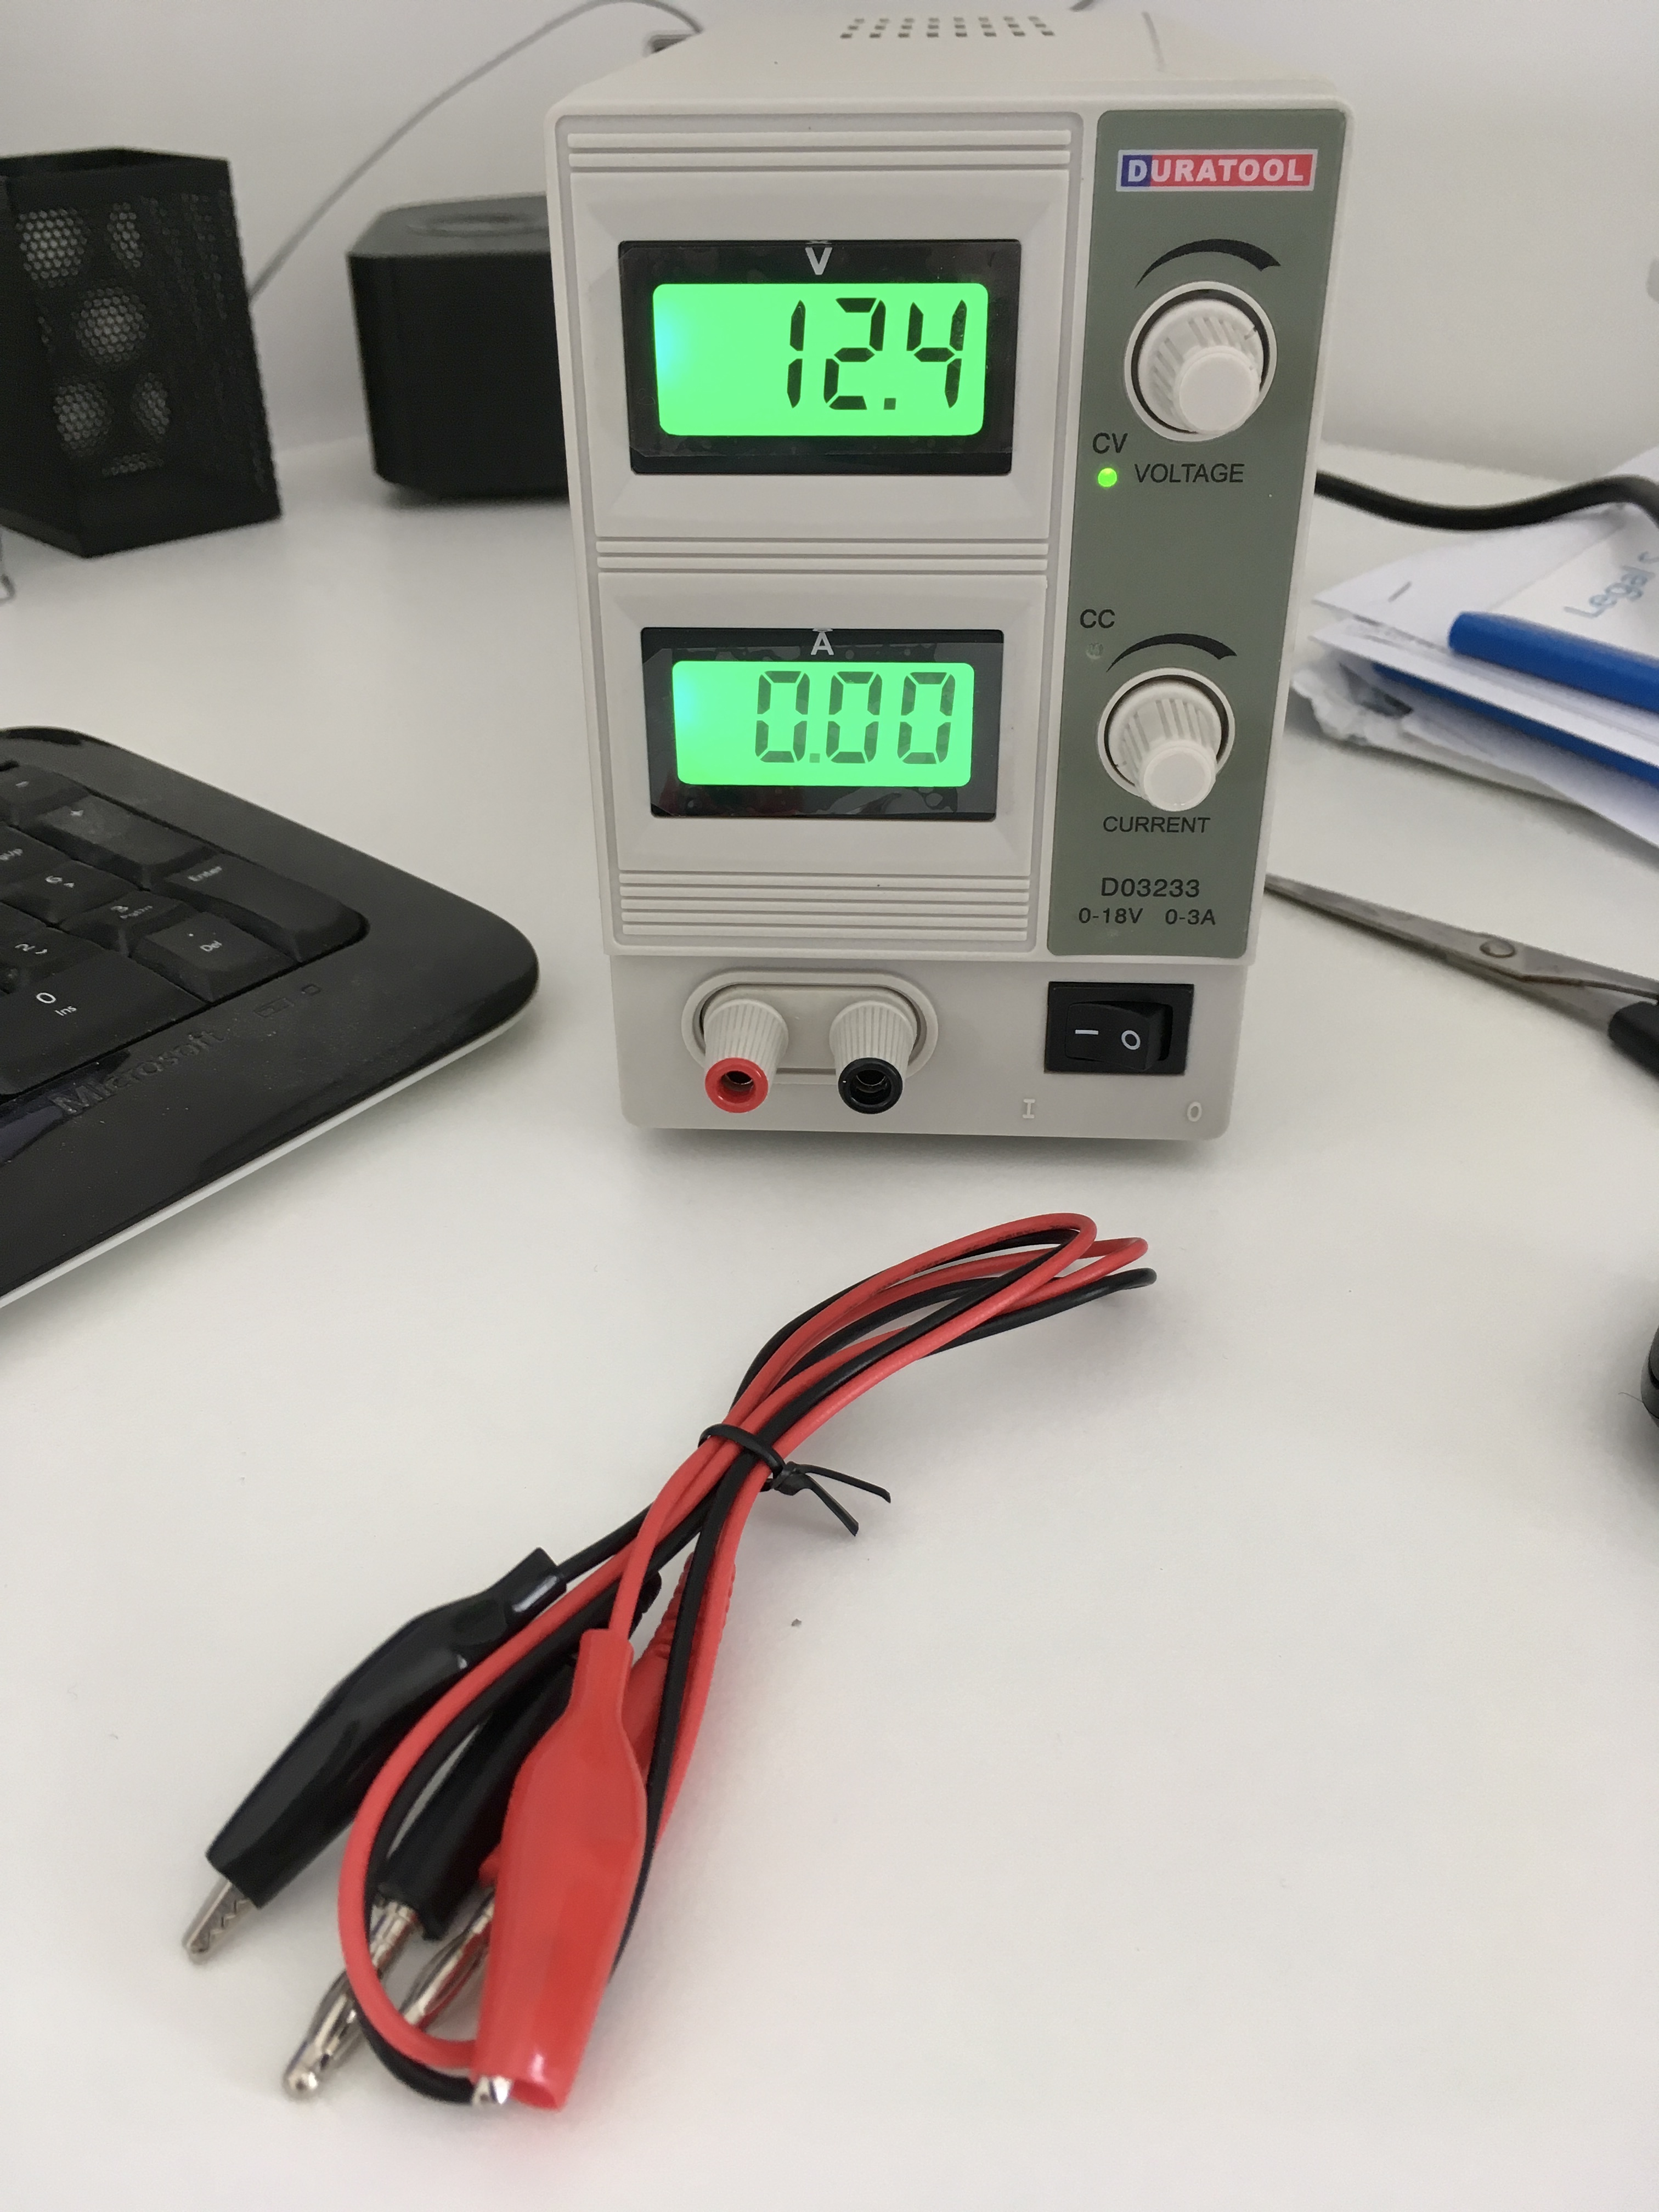
| 1 | DURATOOL D03233 18V, 3A DC Adjustable Regulated Linear Bench Power Supply | Cpc.co.uk |
| 1 | NOCO Genius G15000UK 12V and 24V 15 Amp Pro-Series Smart Battery Charger and Maintainer | Hardwarexpress.co.uk |
| 1 | Multifunctional wire stripper and crimping tool, 22-10 AWG | TC Quality Tool, Aliexpress.com |

These are the steps to create a WordPress website and webserver on a Raspberry Pi.
| Description | Source |
|---|---|
| Format SD card to FAT32 | https://www.sdcard.org/downloads/formatter/ |
| Install Raspberry Pi Imager for Windows | https://www.raspberrypi.com/software/ |
| Select OS and SD Card then click “Write” to copy image to SD card | Raspberry Pi installation |
| Insert the SD card into the Raspberry Pi and power it up; Enter user = “pi”, password (default) = “raspberry” | Raspberry Pi documentation |
| Change the default password | |
| Enable SSH | https://en.wikipedia.org/wiki/Secure_Shell |
| Find the IP address on your local network | Raspberry Pi remote access |
| Connect to Raspberry Pi from PuTTY | https://www.putty.org/ |
| Create a LAMP server (Linux, Apache, MySQL, PHP/Perl/Python) | LAMP Server |
| Choose a WordPress theme and create some content | |
| Test accessing the website on your local network | http://192.168.xxx.xxx |
| Set up a fixed IP on your home network; set up port forwarding for Port 80 & 443 on your broadband router. | Port Forwarding |
| Set up the DNS entries. This is usually where you purchased your domain name. | Type = A; Name = @; Value = [External IP address]; TTL [Leave blank] Type = CNAME; Name = www; Value = strover.com; TTL [Leave blank] |
| Check Port 80 is open; Port 443 cannot be confirmed until SSL is set up later in the process | https://www.yougetsignal.com/tools/open-ports/ |
| [Optional] Request a fixed external IP address from your broadband provider. This avoids having to use a DNS re-direction service. If not, you will need to maintain periodic updates to your external IP address at the domain manager whenever your broadband provider changes your external IP address. | |
| Amend Settings/General in WordPress: WordPress Address (URL) and Site Address (URL) to “http://strover.com” | This converts the URL from being identified with 192.168.xxx.xxx to your chosen domain name |
| Use Better Search Replace plugin in WordPress to fix broken links when moving from local IP to strover.com | https://wordpress.org/plugins/better-search-replace/ |
| Set up SSL Encryption to change the http:// to https:// | https://pimylifeup.com/raspberry-pi-ssl-lets-encrypt/ |
| Amend Settings/General in WordPress: WordPress Address (URL) and Site Address (URL) to “https://strover.com” | https://wordpress.org/support/article/changing-the-site-url/ |
| Use Better Search Replace plugin in WordPress to fix any broken links | |
| Install Akismet Antispam plugin to WordPress | https://wordpress.org/plugins/akismet/ |
| Back up the website via SSH connection using PuTTY and create the back up files. | cd /var/www sudo tar -cpvzf html-backup-$(date +%F).tar.gz \ –exclude=’html/wp-content/cache’ \ –exclude=’html/wp-content/aiowps_backups’ \ –exclude=’html/wp-content/updraft’ \ html |
| Use FileZilla via SFTP to copy the backup files to your PC. Connect to IP address on port 22; Navigate to /home/pi | https://filezilla-project.org/ |
| Restore the database back up | sudo mysql -u root -p wordpress < wordpress.sql |
| Unzip back up to a new directory | sudo mkdir -p /var/www/html/restore/ sudo tar -cpvzf html-backup-$(date +%F).tar.gz -C /var/www/html/restore/ |
| Verify the files in the new directory | ls -l /var/www/html/restore/ |
| Remove previous files from website back-up process | sudo rm wordpress.sql sudo rm strover.tar.gz |
| Description | Source |
|---|---|
| View file | sudo cat <filename> |
| Edit file (via nano text editor) | sudo apt install nano sudo nano <filename> |
| Update the Raspberry Pi build version | sudo apt-get update sudo apt-get upgrade sudo reboot |
| Always use the halt command before powering down to avoid corrupting the SD card | sudo halt |
| Check and renew the SSL certificate | sudo certbot certificates sudo service apache2 stop sudo certbot renew sudo systemctl reload apache2 More details: https://upcloud.com/community/tutorials/install-lets-encrypt-apache/ |
| Confirm php version | php -v sudo update-alternatives –config php |
| Create info.php for troubleshooting. Remove after using. | <?php phpinfo(); ?> |
| Restart mysql following “Error establishing a database connection” | sudo service mysql restart |
| Missing gd library | sudo apt-get install php7.4-gd |
| Inspect directory and sort for largest folders/subfolders | du -h /var/www/html | sort -hr | head -20 |
| Software | Linux Command | Version |
|---|---|---|
| RaspberryPi | cat /proc/cpuinfo | Pi 3 Model B |
| SD Card | cat /sys/block/mmcblk0/device/cid | SanDisk Ultra 32GB microSDXC Class 10, U1, A1 |
| Linux | cat /etc/os-release | 11 (Bullseye) |
| Apache2 | apache2 -v | 2.4.65 (Raspbian) |
| MariaDB | sudo mariadb –version | 15.1 |
| PHP | php –version | 8.4.12 |
| WordPress | cd /var/www/html/ grep wp_version wp-includes/version.php | 6.8.3 |